前几天在京东商城上购买的MIPI接口摄像头(GC4663)到货了,今天就来体验下。
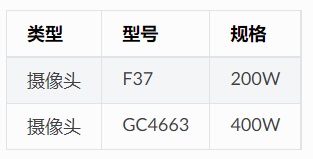
目前旭日X3派支持的MIPI接口摄像头型号如下,
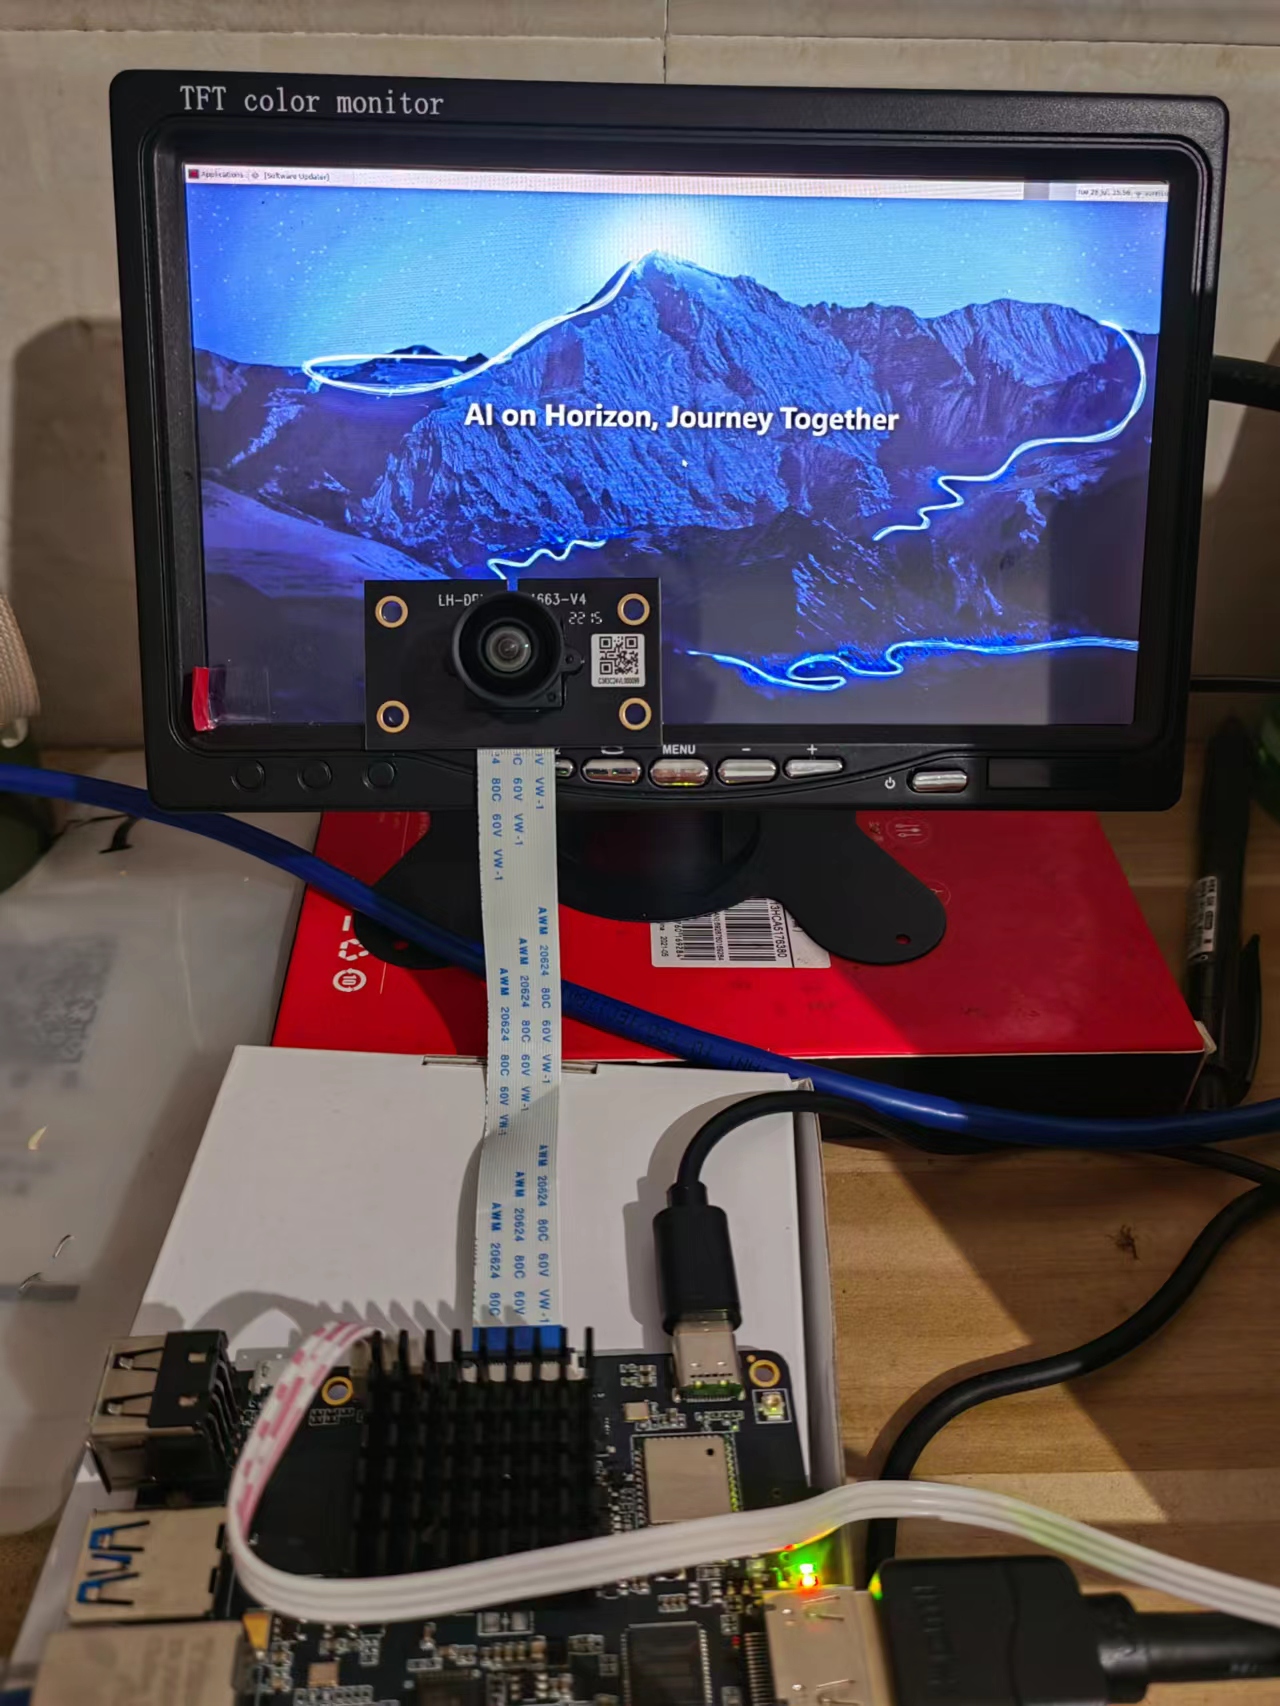
将GC4663和X3派开发板接口连接(注意数据线接口方向),
Step1:通过 SSH 登录旭日X3派,打开/opt/tros/share/mipi_cam/launch/mipi_cam.launch.py,修改video_device字段为GC4663,配置摄像头型号
from launch import LaunchDescription
from launch_ros.actions import Node
def generate_launch_description():
    return LaunchDescription([
        # 启动图片发布pkg
        Node(
            package='mipi_cam',
            executable='mipi_cam',
            output='screen',
            parameters=[
                {"out_format": "nv12"},
                {"image_width": 960},
                {"image_height": 544},
                {"io_method": "shared_mem"},
                {"video_device": "GC4663"}
            ],
            arguments=['--ros-args', '--log-level', 'error']
        )
])Step2:通过下述命令启动 Sensor Hub 节点
# 配置 TogetherROS 环境:
source /opt/tros/local_setup.bash
# launch 方式启动
ros2 launch mipi_cam mipi_cam.launch.py
启动成功打印如下:
root@ubuntu:/opt/tros/share/mipi_cam# ros2 launch mipi_cam mipi_cam.launch.py
[INFO] [launch]: All log files can be found below /root/.ros/log/2022-07-26-16-03-19-588103-ubuntu-7628
[INFO] [launch]: Default logging verbosity is set to INFO
[INFO] [mipi_cam-1]: process started with pid [7630]
Step3:另起两个终端:一个进行订阅 mipi 数据编码为JPEG,一个用webservice发布
# 一个终端编码
source /opt/tros/local_setup.bash
ros2 run hobot_codec hobot_codec_republish --ros-args -p channel:=1 -p in_mode:=shared_mem -p in_format:=nv12 -p out_mode:=ros -p out_format:=jpeg -p sub_topic:=/hbmem_img -p pub_topic:=/image_jpeg

# 再起一个终端
source /opt/tros/local_setup.bash
# 启动nginx,nginx只需启动一次,如前面已启动过nginx,则无需再次启动
cd /opt/tros/lib/websocket/webservice && chmod +x ./sbin/nginx &&./sbin/nginx -p .
# 启动websocket
ros2 run websocket websocket --ros-args -p image_topic:=/image_jpeg -p image_type:=mjpeg -p only_show_image:=trueStep4:PC打开浏览器(chrome/firefox/edge)输入旭日X3派IP地址,点击左上方web端展示 GC4663摄像头编码为MJPEG实时画面

至此摄像头数据已经成功通过web预览,10帧每秒输出、流畅度还是非常OK的!
tros提供了开源代码,可以通过阅读代码、分析摄像头编码、传输、数据web展示的原理,欢迎大家一起来体验下吧
「地平线旭日X3派,开启你的嵌入式开发之旅」,欢迎正在阅读的你申请试用,一起交流开发心得