1.环境准备
1.1 conda安装
请参考:https://docs.anaconda.com/free/anaconda/install/linux/
1.2 pytorch安装
请参考:https://pytorch.org/get-started/locally/ 为保证python环境的纯净,请在conda环境中进行pytorch安装 执行命令创建环境
conda create -n pytorch python=3.8 -y
conda activate pytorch
为保证通用性,此处选择CPU版本,使用conda的安装命令

conda install pytorch torchvision torchaudio cpuonly -c pytorchpytoch安装验证:
python
import torch
x = torch.rand(5, 3)
print(x)
1.3 ai_toolchain安装
#下载资料工具包
wget -c ftp://xj3ftp@vrftp.horizon.ai/ai_toolchain/ai_toolchain.tar.gz --ftp-password=xj3ftp@123$%
wget -c ftp://xj3ftp@vrftp.horizon.ai/model_convert_sample/horizon_model_convert_sample.tar.gz --ftp-password=xj3ftp@123$%

#创建conda环境
conda create -n horizon_bpu python=3.8 -y
conda activate horizon_bpu

#安装相关功能包
tar -xvf horizon_model_convert_sample.tar.gz
tar -xvf ai_toolchain.tar.gz
pip install ai_toolchain/h* -i https://mirrors.aliyun.com/pypi/simple
pip install pycocotools -i https://mirrors.aliyun.com/pypi/simple
ai_toolchain安装验证:
hb_mapper --help
Usage: hb_mapper [OPTIONS] COMMAND [ARGS]...
  hb_mapper is an offline model transform tool provided by horizon.
Options:
  --version   Show the version and exit.
  -h, --help  Show this message and exit.
Commands:
  checker    check whether the model meet the requirements.
  infer      inference and dump output feature as float vector.
  makertbin  transform caffe model to quantization model, generate runtime...
2.数据集采集
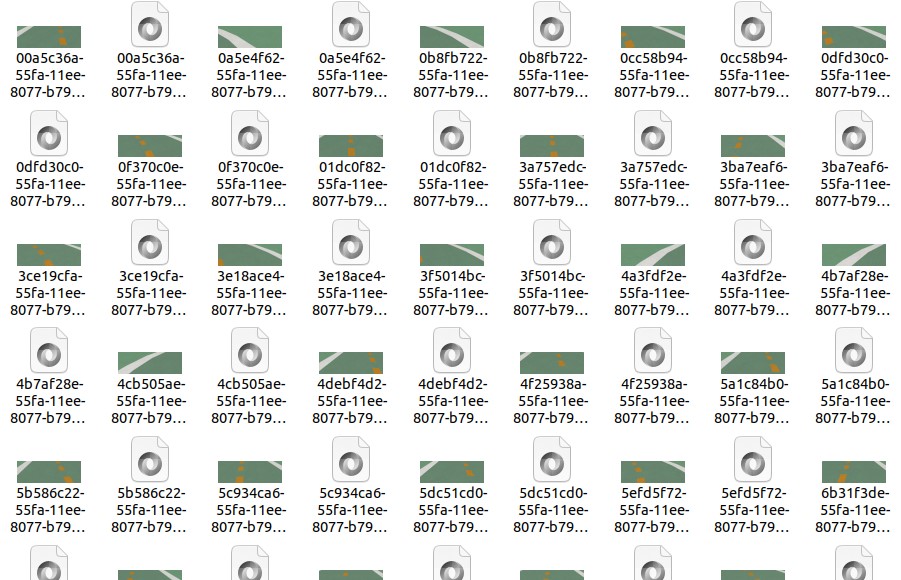
采集数据步骤请参考nodehub功能包数据集采集,该功能将获取摄像头图片并保存在本地(板端)。取其中赛道检测的数据集,传输到PC上
scp -r track_image 用户名@ip地址:PC上的存放路径3.数据集标注
数据集标注请使用labelme
#安装
sudo apt install labelme

#运行
labelme
标定,打开数据集文件夹,在图片上右键,选择Create Point

点击图片中的赛道中点并命名,点击OK——>点击Save——>点击Next Image切换到下一张图片

重复以上步骤,若图片不符合需求,可直接跳过。标注文件会保存在与图片相同的路径下
4.数据集转化
在训练之前需要将数据转化为模型训练需要的数据集格式 将脚本放到与数据集文件夹同级目录下,运行转换脚本(脚本见附件)
#脚本支持设置数据集的读取位置以及转换之后数据集的存放位置
python3 labelme2resnet.py
转化成功之后,在同级目录下会生成line_follow_dataset文件夹,存放转换后的数据集,文件结构如下
root@root-vpc:~/line_follow_dataset$ tree -L 2
├── test
│ ├── image
│ └── label
└── train
├── image
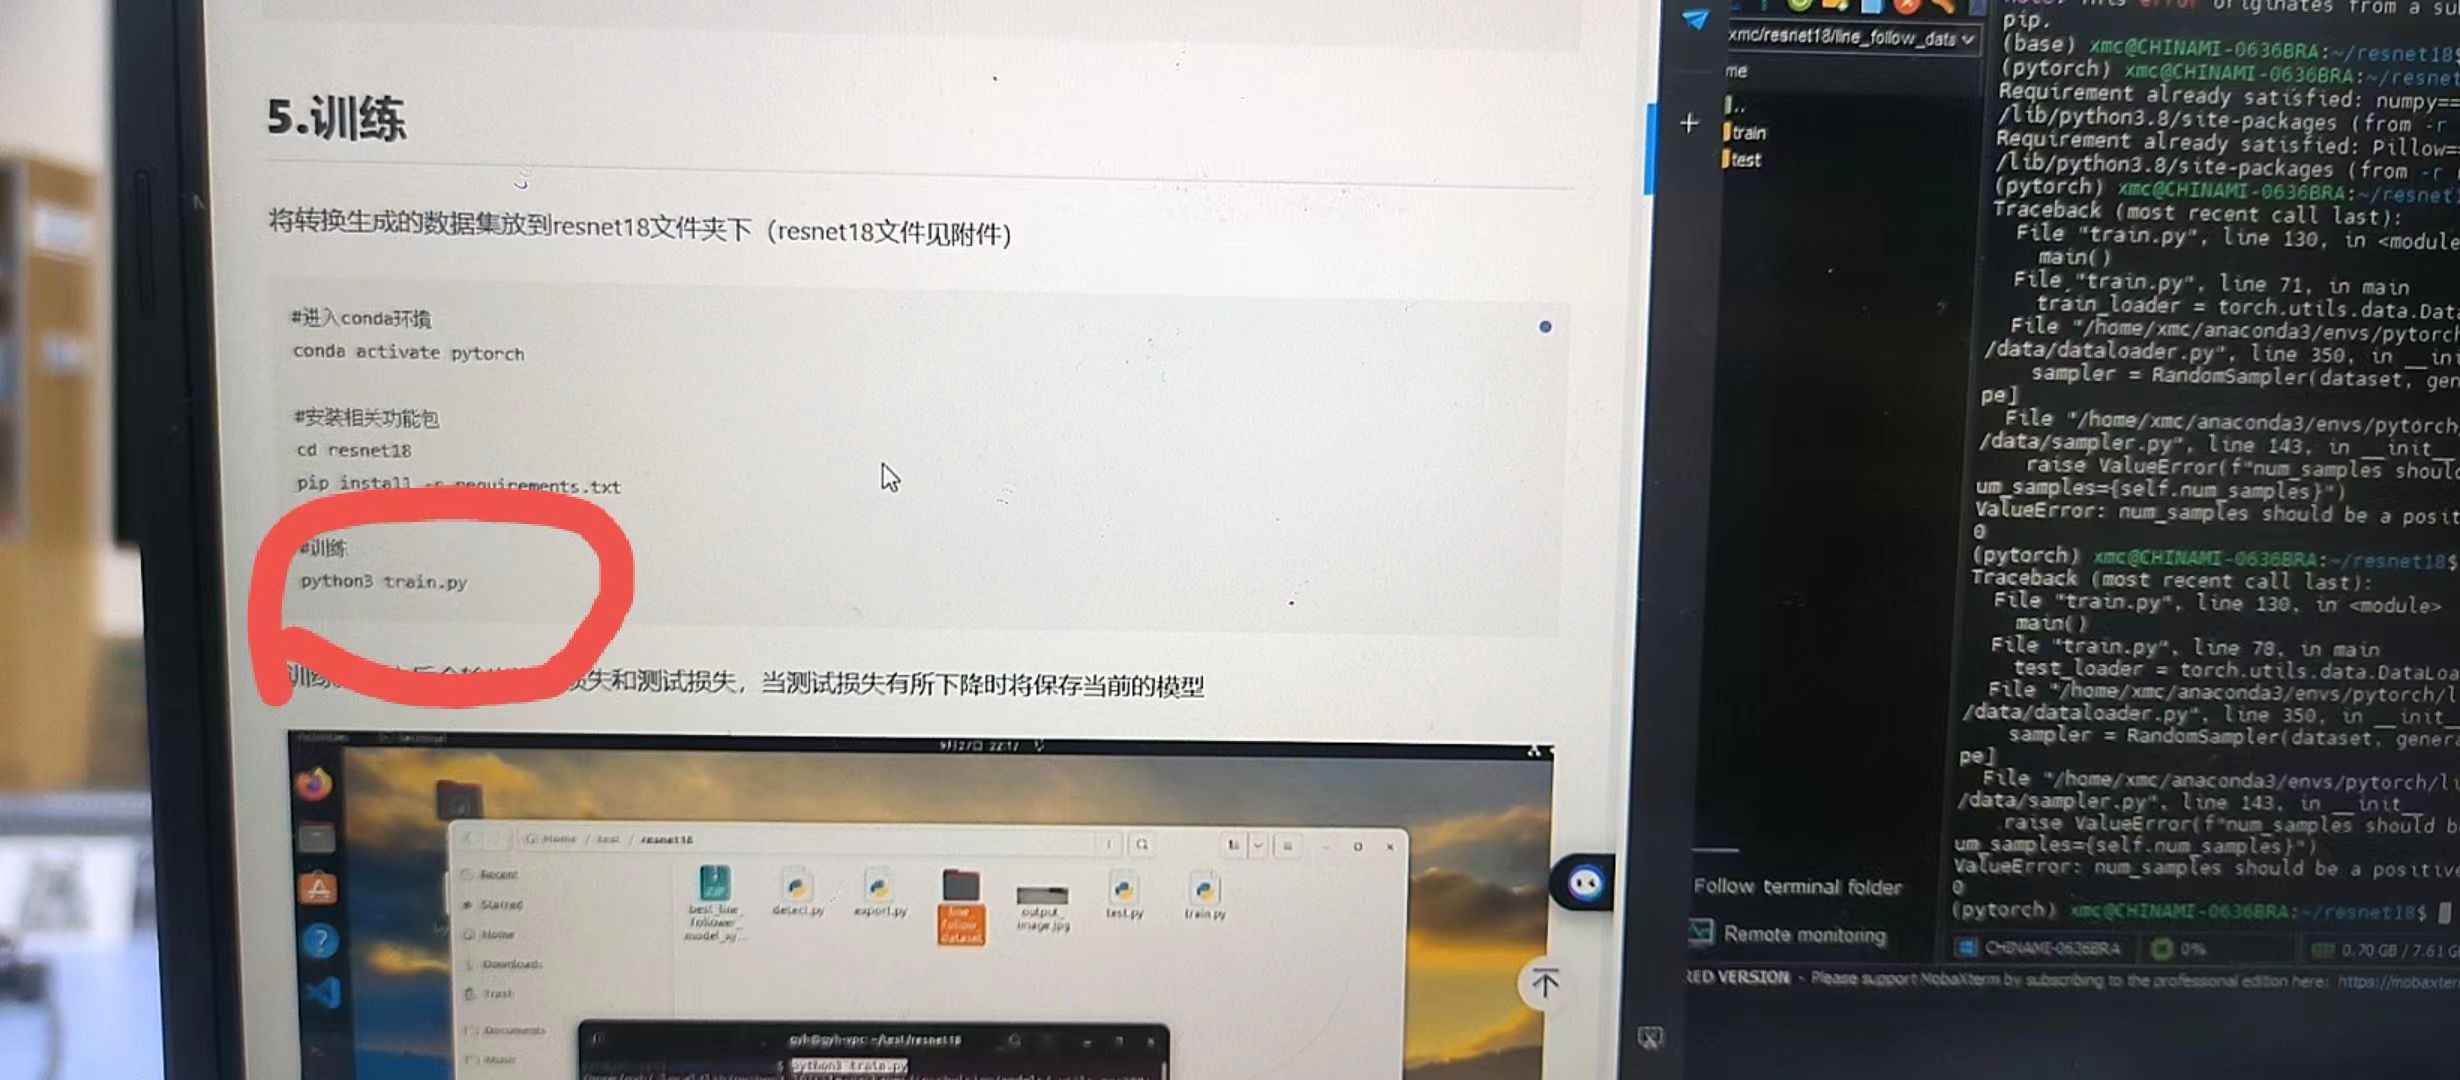
└── label5.训练
将转换生成的数据集放到resnet18文件夹下(resnet18文件见附件)
#进入conda环境
conda activate pytorch
#安装相关功能包
cd resnet18
pip install -r requirements.txt
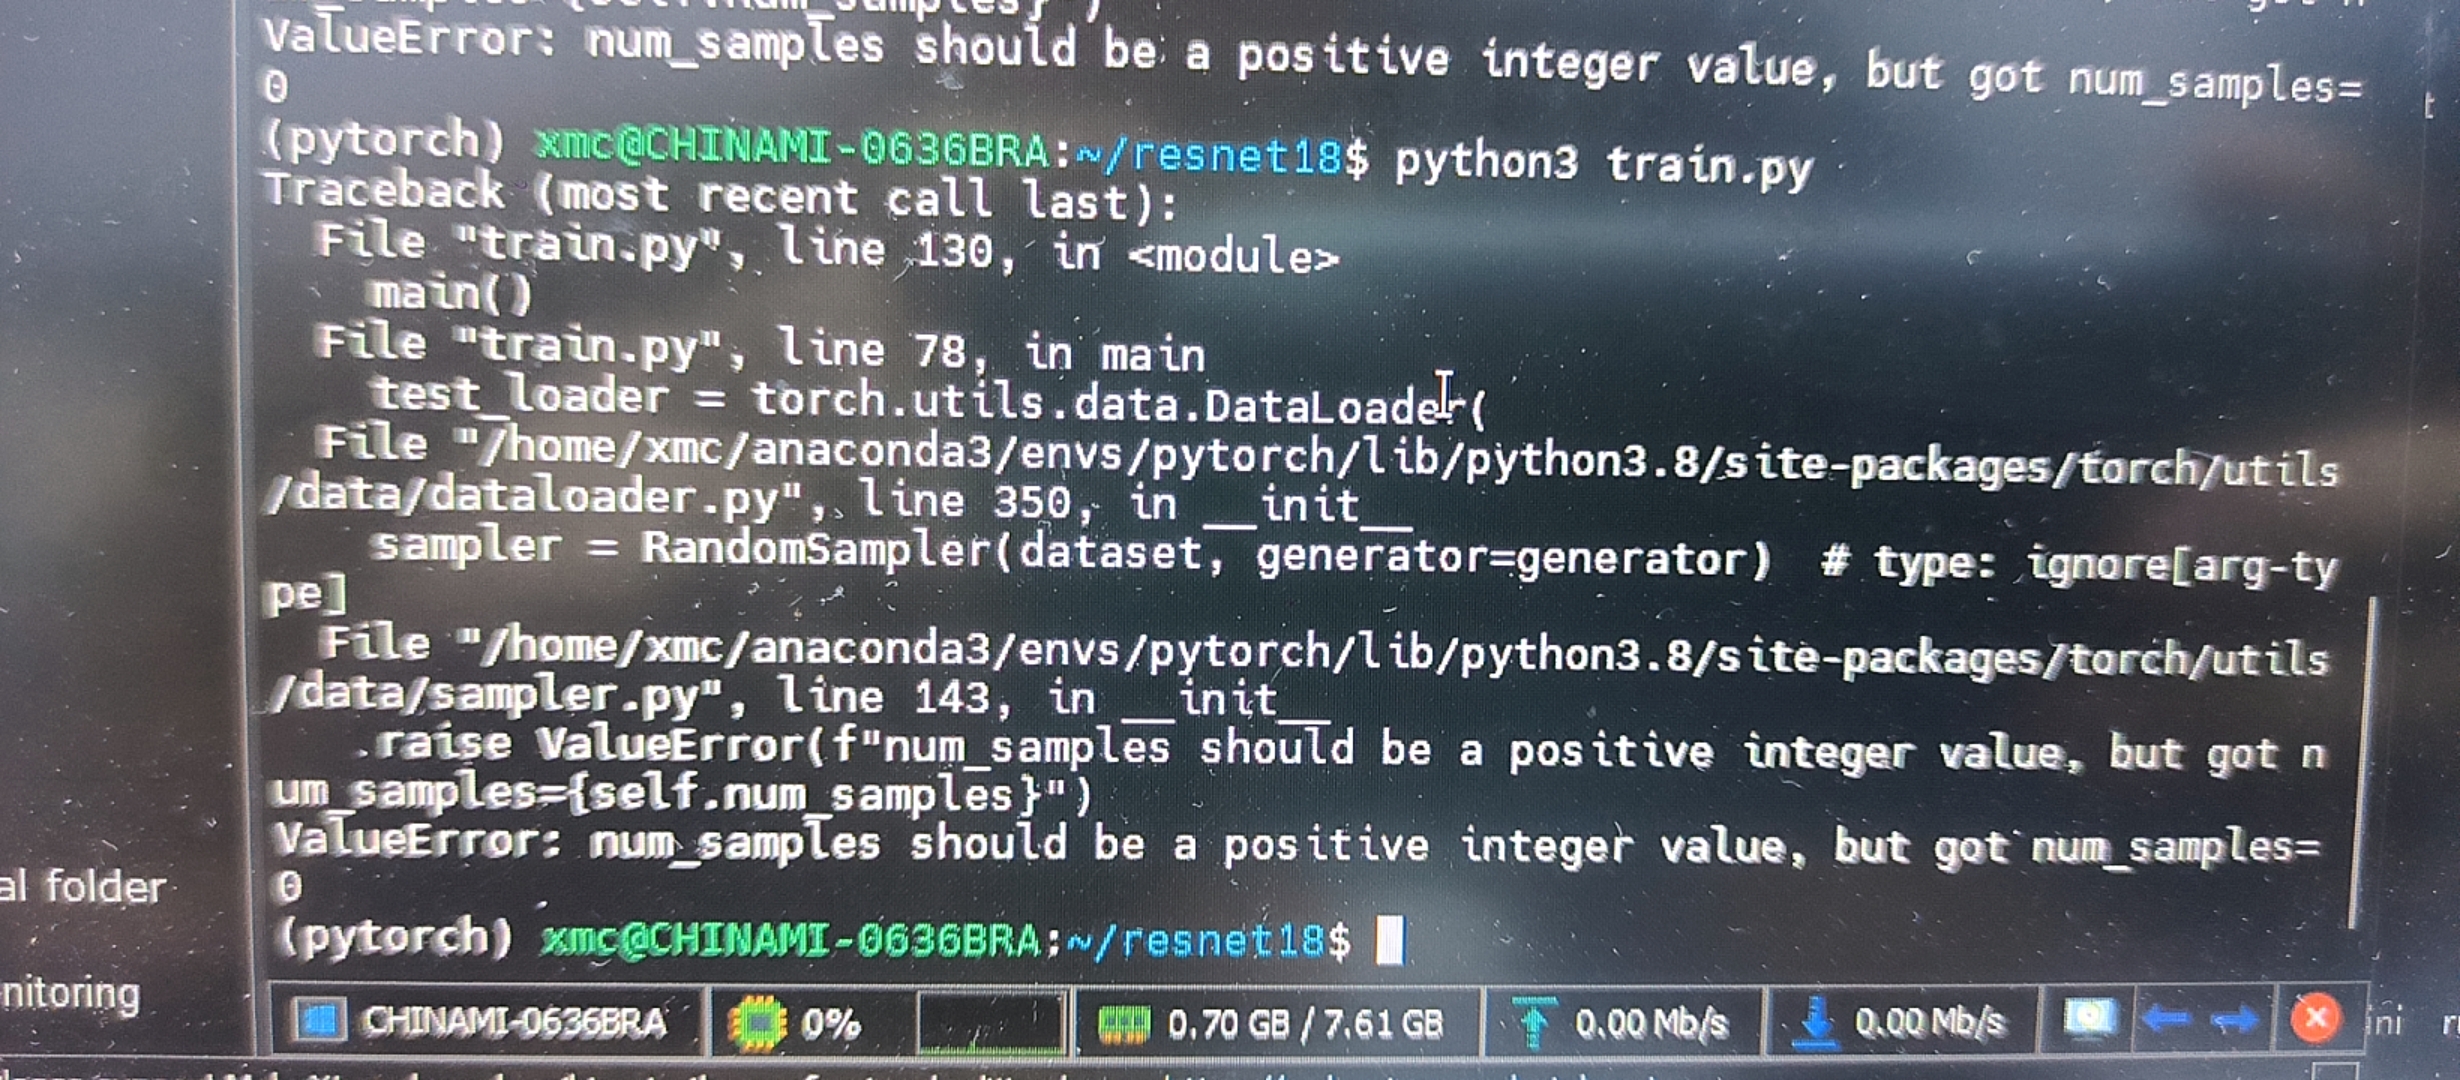
#训练
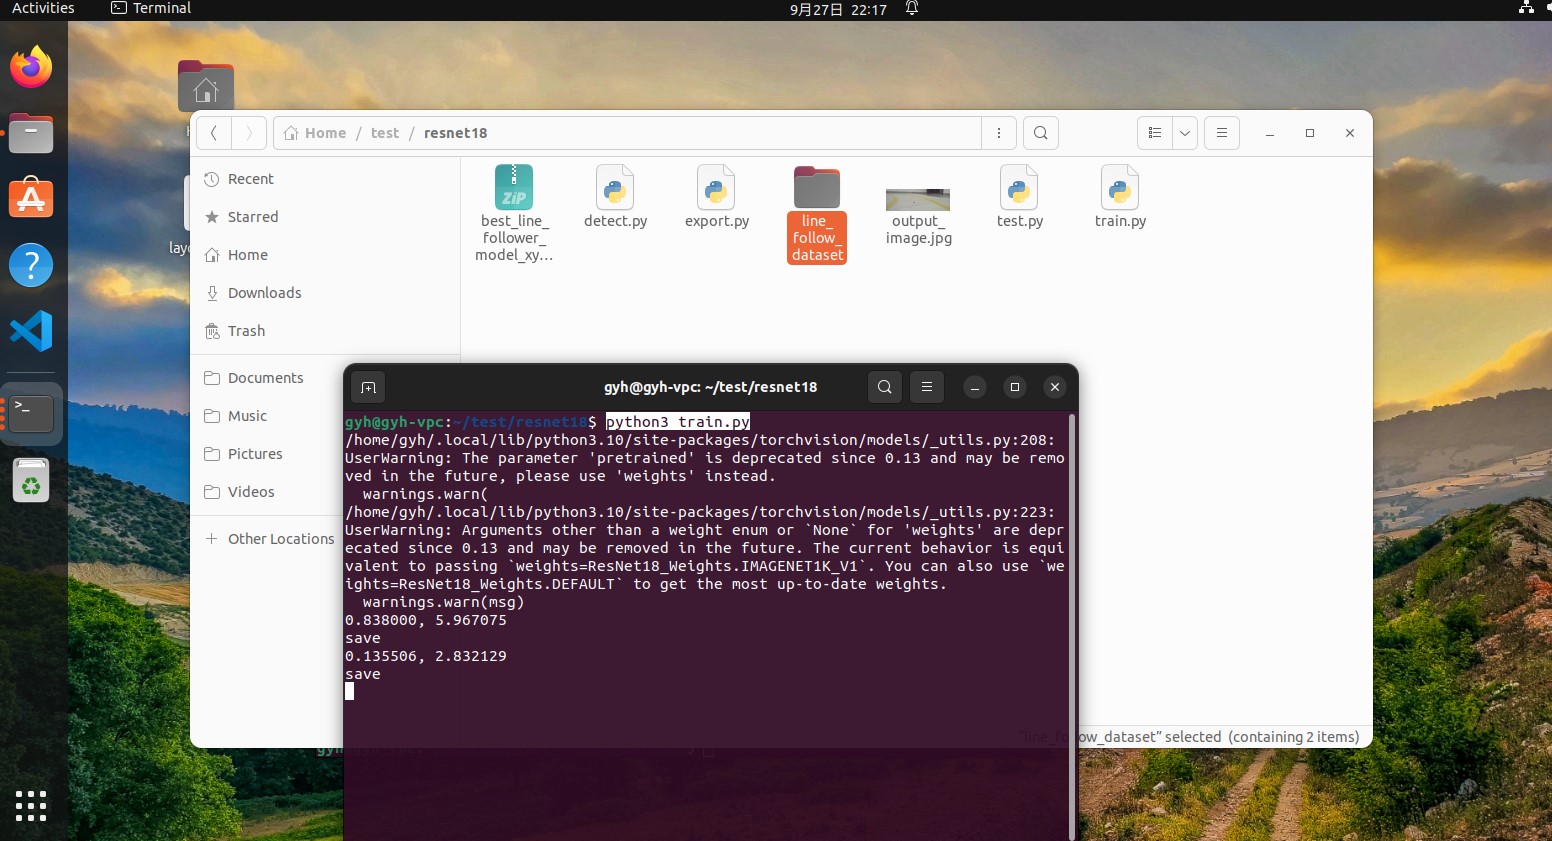
python3 train.py训练开始之后会输出训练损失和测试损失,当测试损失有所下降时将保存当前的模型
6. 模型转化
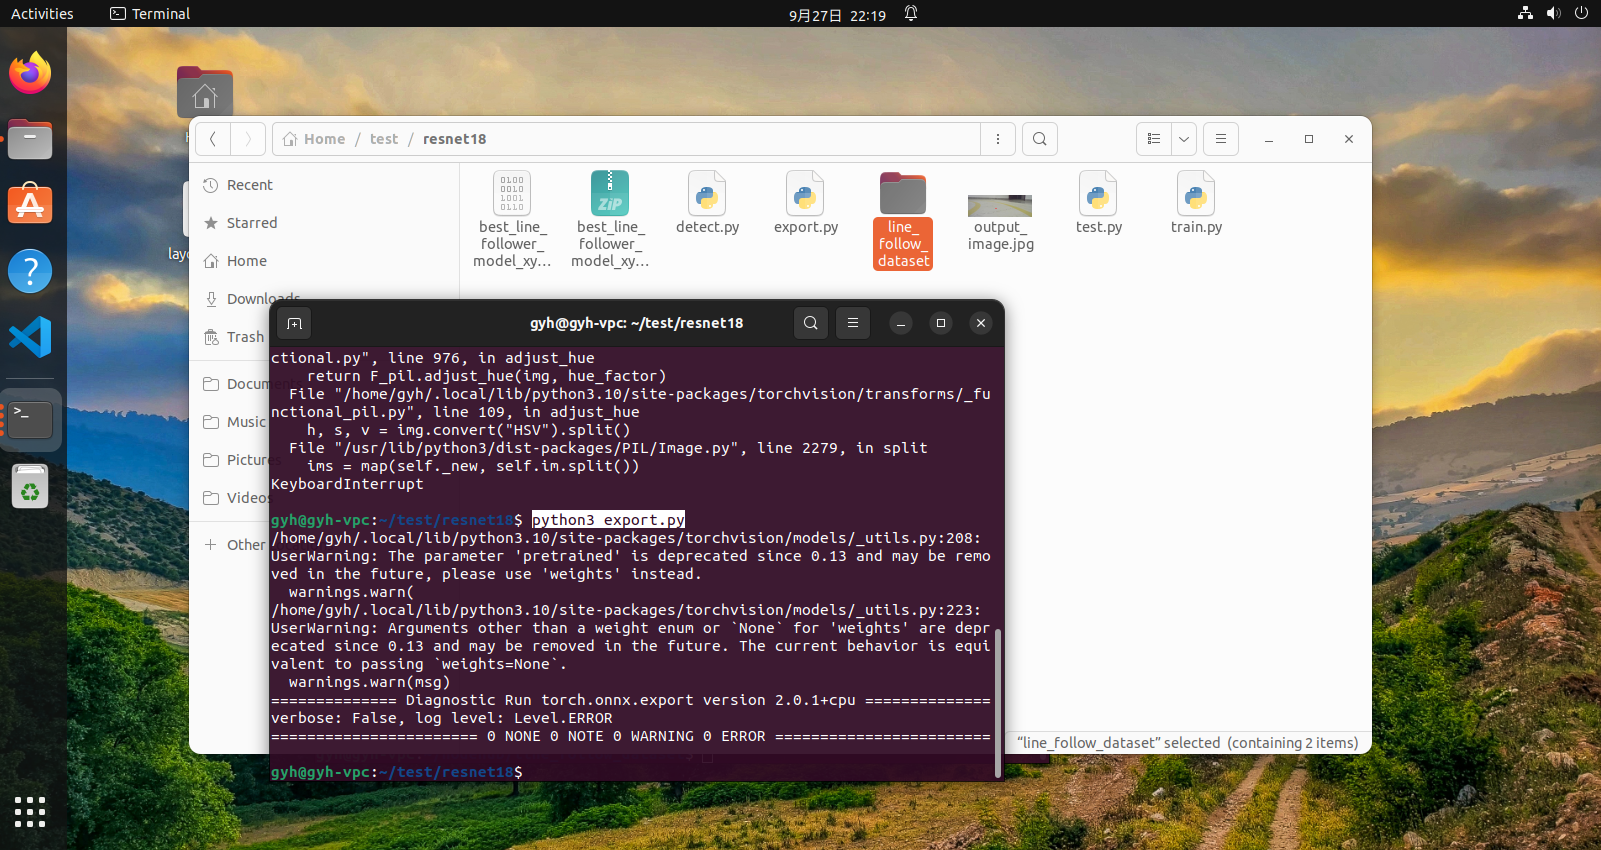
在进行模型量化前需要将模型格式转换为onnx格式
#转化
python3 export.py
转换成功后会在相同的路径下生成onnx格式的模型
7.模型量化
取数据集中的100张图片放到文件夹model_convert/dataset/image文件夹下,将生成的onnx模型存放到model_convert下(model_convert文件见附件)
7.1 准备校准文件
#进入conda环境
conda activete pytorch
cd model_convert

#运行图片转换脚本
python generate_calibration_data.py --dataset ./dataset -o ./calibration_data
运行成功之后会生成calibration_data文件夹
7.2 模型编译
#进入conda环境
conda activete horizon_bpu
cd model_convert

#编译模型
hb_mapper makertbin --config resnet18_config.yaml --model-type onnx
编译成功后,会在model_output/model_output路径下生成最终的模型文件


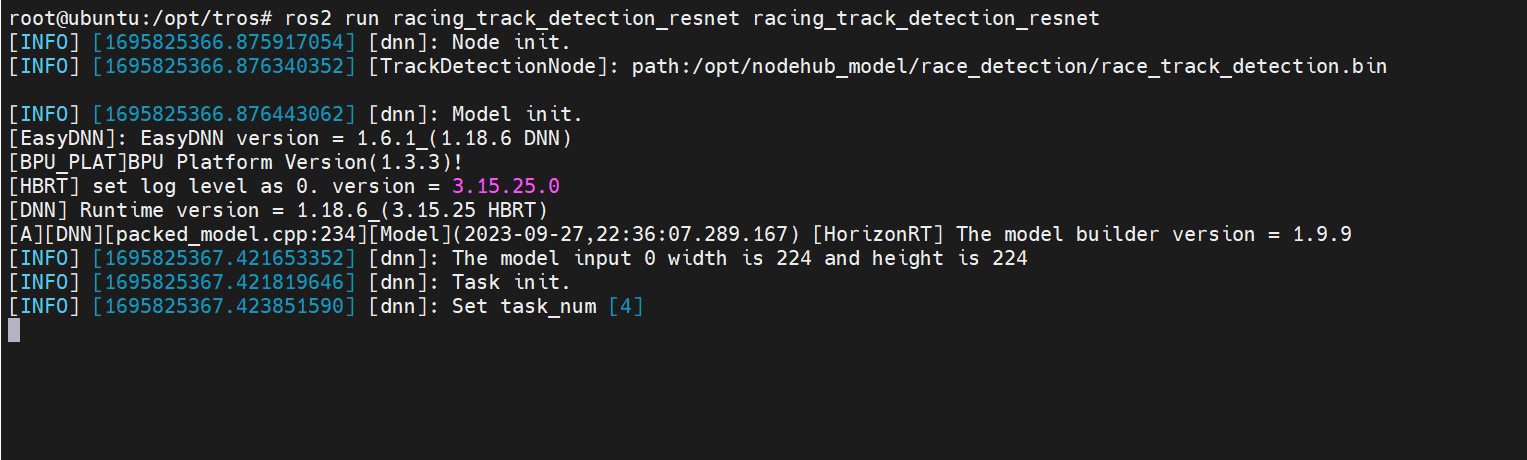
8.部署
请参考NodeHub赛道检测功能,安装相关功能包 将生成的.bin格式的模型拷贝到开发板上
ros2 run racing_track_detection_resnet racing_track_detection_resnet --ros-args -p model_path:=模型路径运行成功后如下